

How to: Charcuterie Picnic
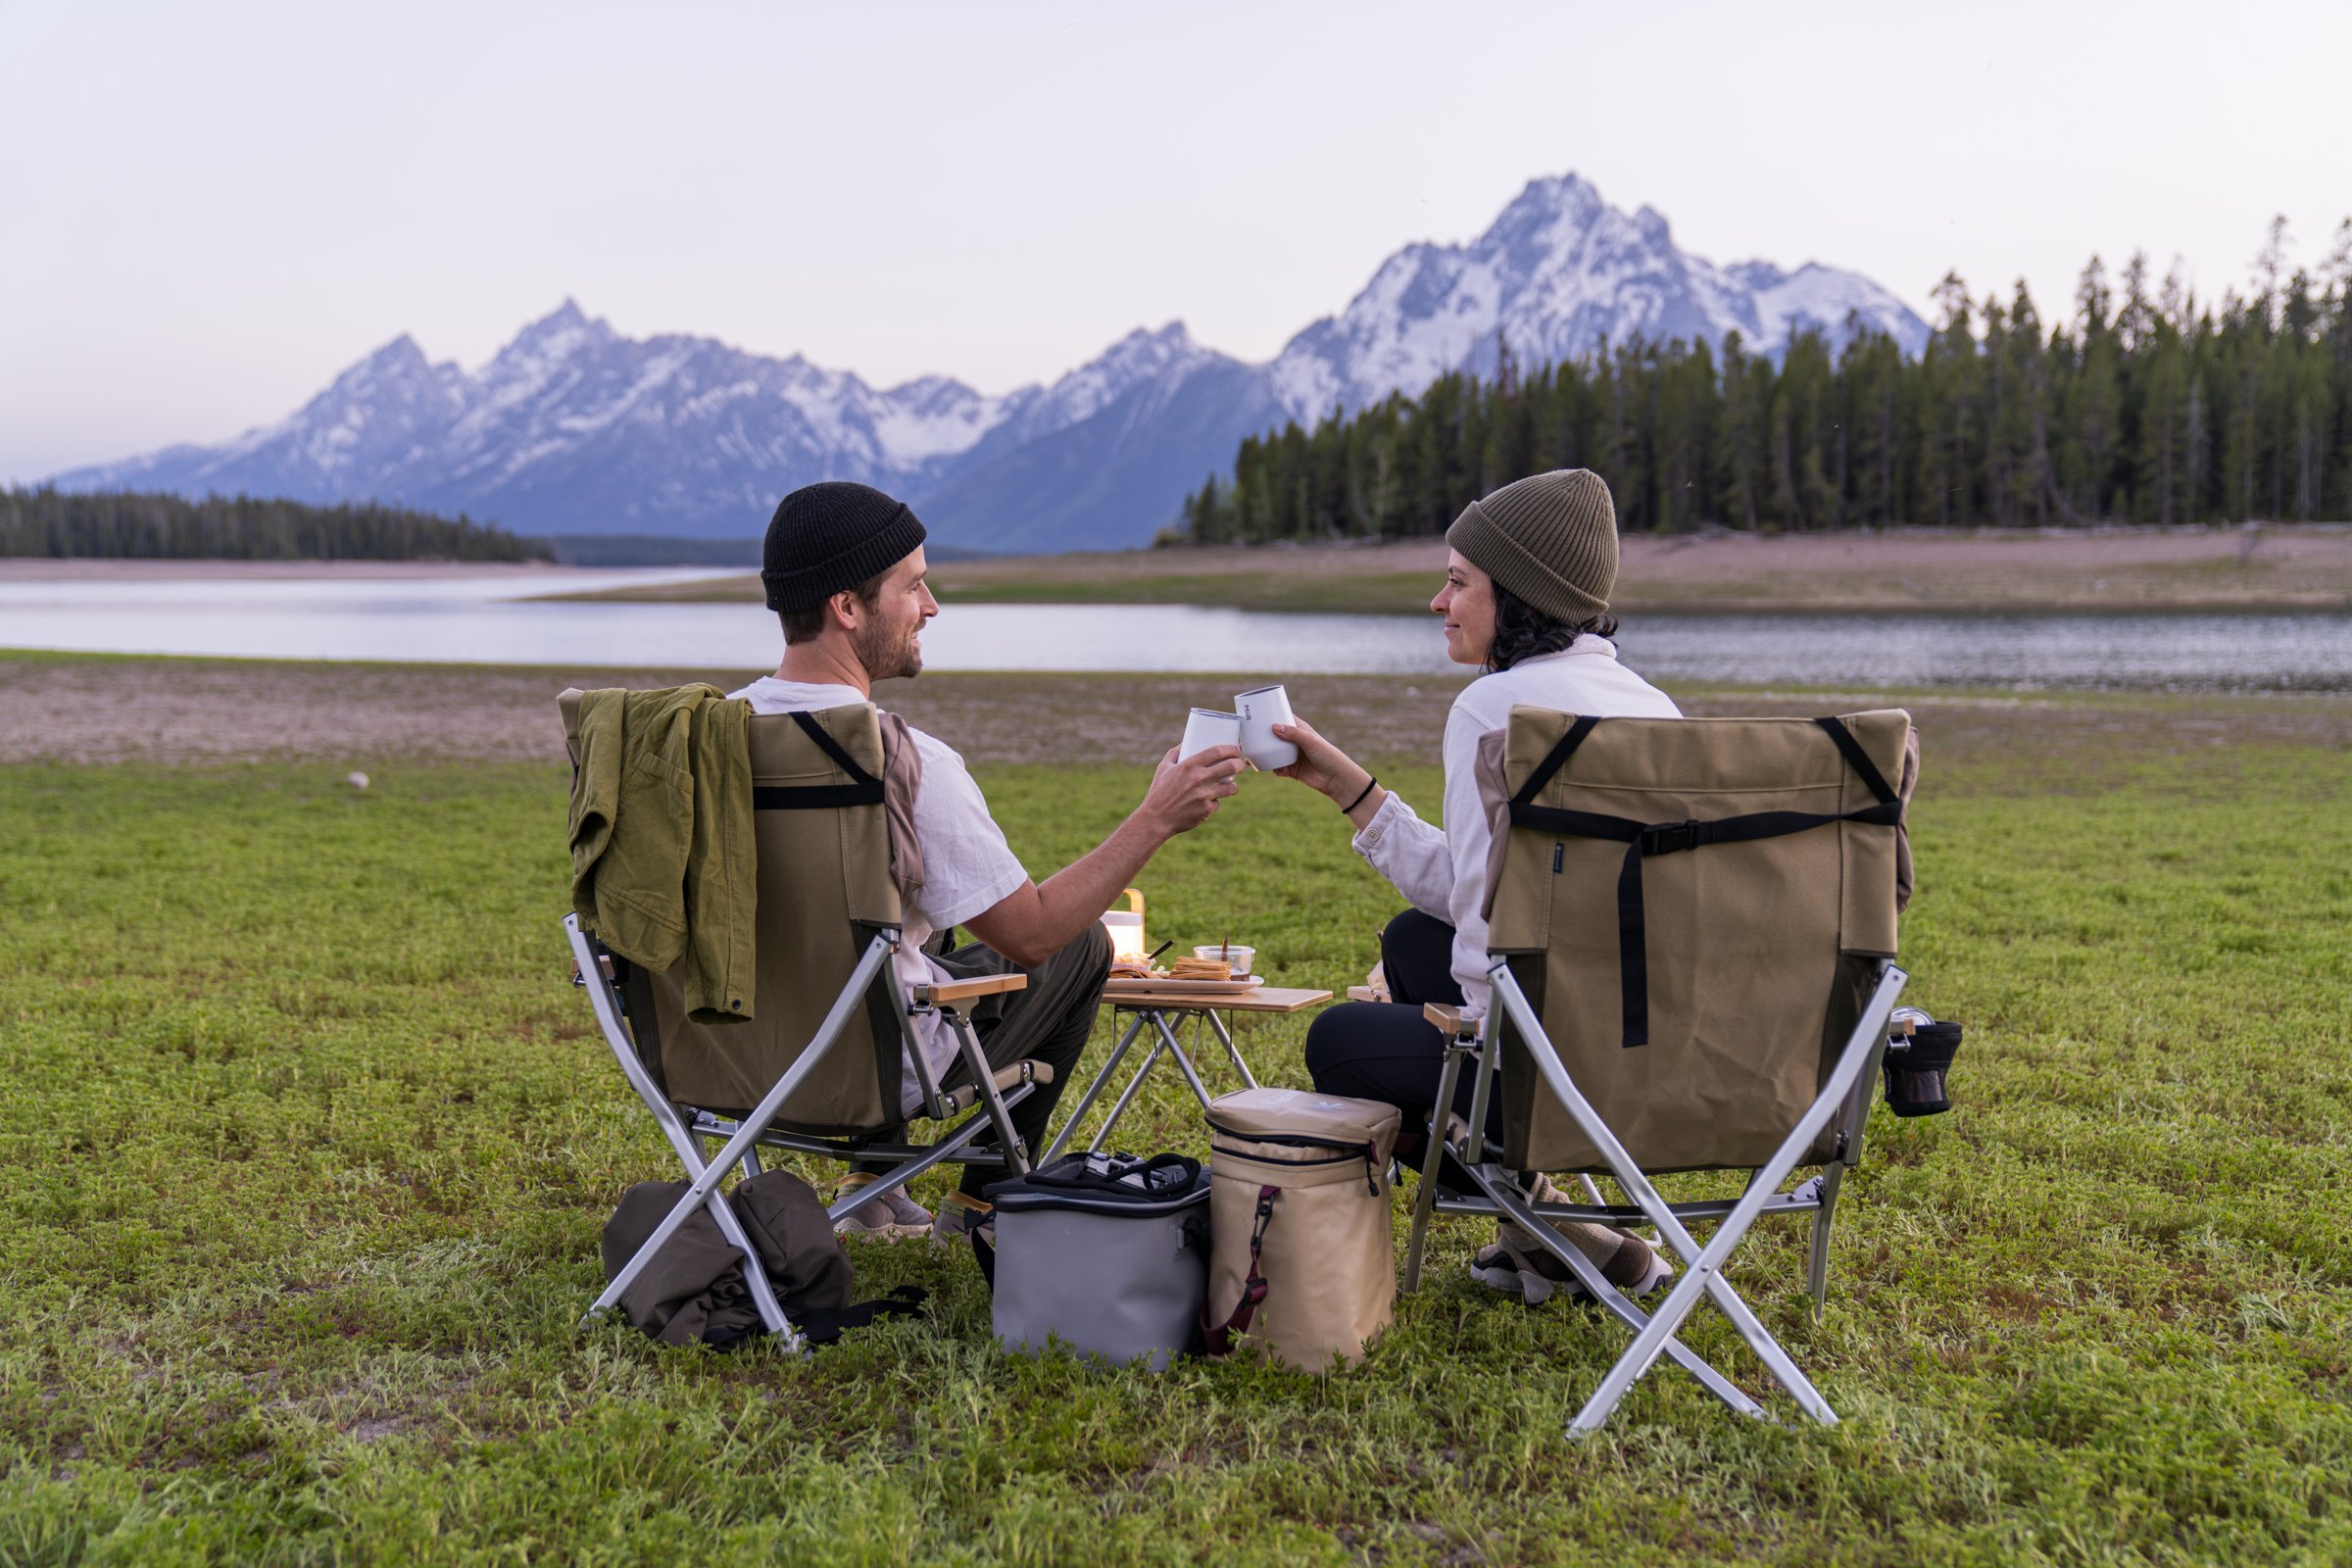
There is nothing better than an outdoor picnic. It includes two of the best things in life: food and nature. When combined, magic happens — especially if you find yourself in the most scenic slice of the country in Grand Teton National Park.
With the sun setting on the Rocky Mountain’s Teton Range as our entertainment and the gathering mosquitoes as our wait staff, we indulged in our favorite cheeses, fruits, vegetables, spreads, crackers, and of course, vino.
To help inspire your next charcuterie picnic, here’s a brief guide to packing your own adventure.


One simple guideline to remember when putting together a picnic is one of opposites. For example, when it comes to texture, if you have fresh creamy cheese, include a harder, aged one in the mix. With flavors, sweet and savory. Crunchy celery sticks or snappy peas can be paired with velvety hummus. With this picnic, we leaned into a sweeter palette of fruits so we made sure the cheeses we paired with them were aged, smokey, and salty.
With drinks, we opt for screw-cap wine bottles so that you don’t have to fiddle with an opener and have a secure way of closing it if you don’t finish the whole bottle.


The next hurdle to tackle is packing it all up and preparing for a way to pack it out. Charcuterie boards get crumbly and sticky so bring a tub or bag that you can rinse out. We use our Waterproof 220 gear bag and Soft Cooler 11 when packing food in and out. You’ll most likely be carrying a camp chair or big blanket so find a way to consolidate your snacks into a secure bag you can throw over your shoulder to free your hands.
Browse our full Snow Peak set-up to explore what gear could work best for you.
Ultimately, what takes priority is enjoying yourself. Don’t overthink the cheese selection or get caught up on making it picturesque. Sometimes it means grabbing what you have in your fridge and going.
Seize the opportunity to get outside and enjoy those magical moments in nature.